...
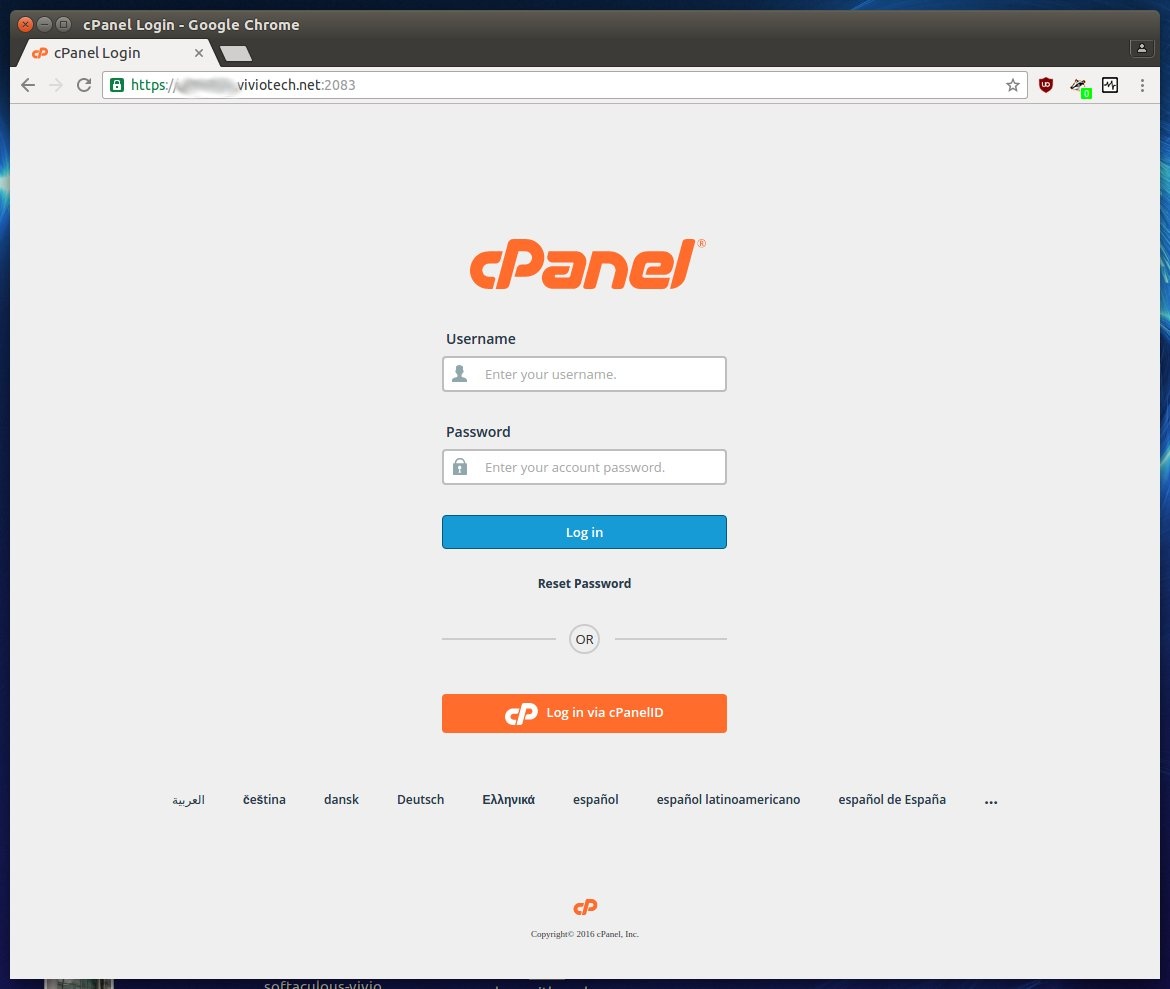
... where '[servername]' is the name of the cPanel server you're hosted on (this is true for Shared, VPS, or Dedicated Servers).

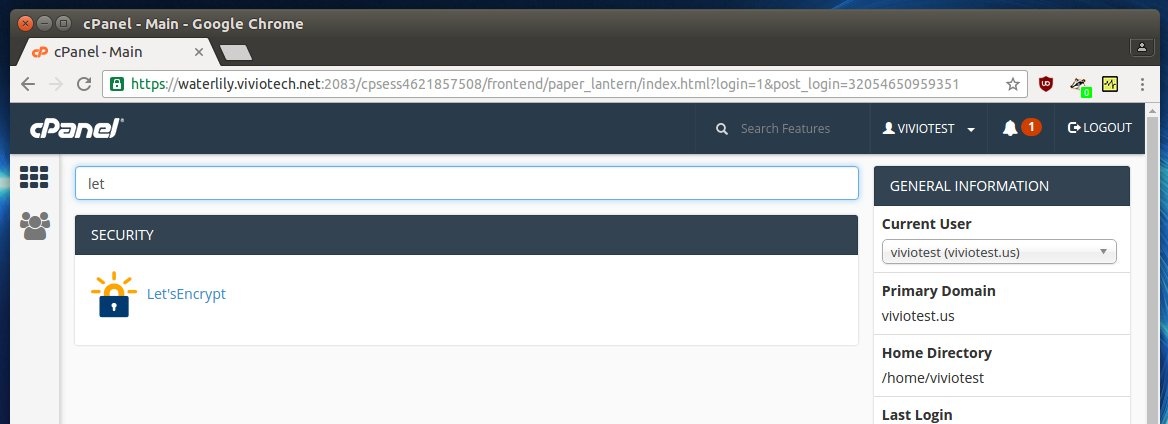
Step 2: Find the Let's Encrypt Plugin
Now that we're logged in, we need to find the Let's Encrypt plugin. We can do that by using the search bar at the top of the cPanel main screen and typing in "let". Once you've found it, go ahead and click on it:
...
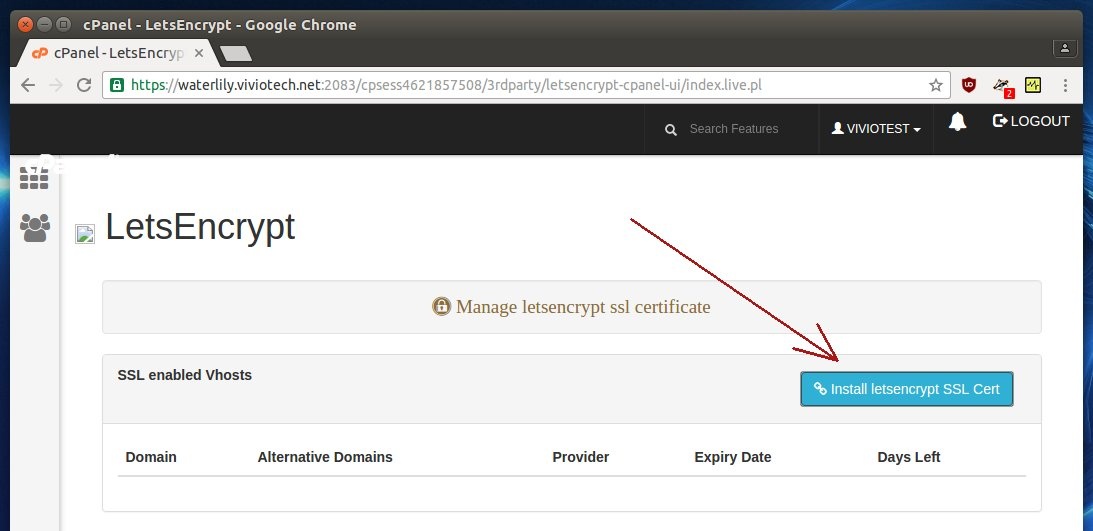
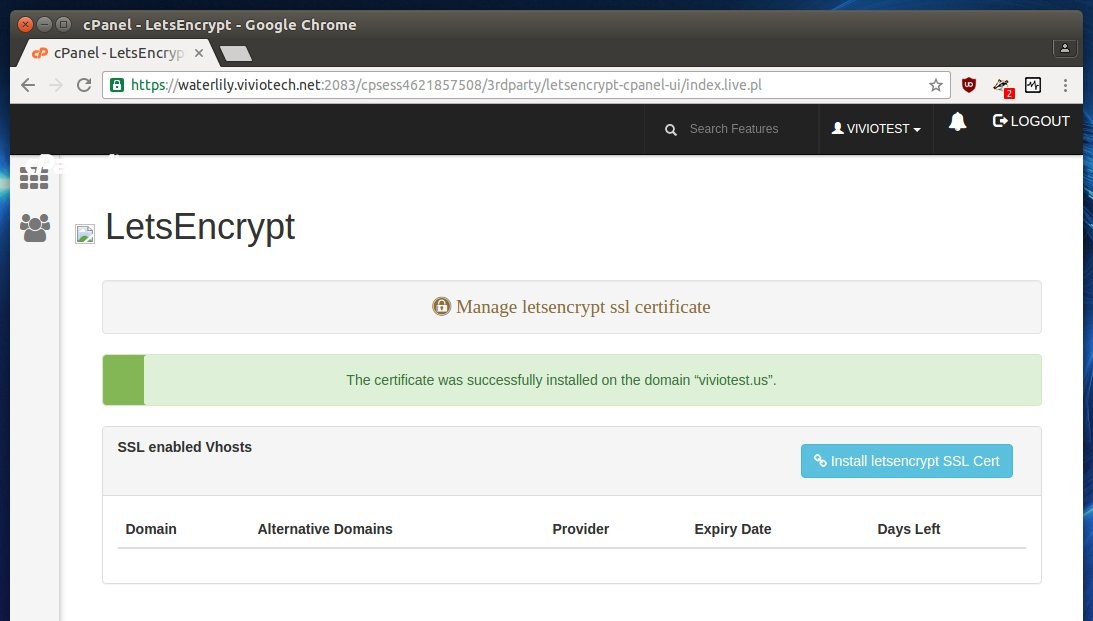
Step 3: Install the New SSL Certificate
Now that we're in the Let's Encrypt plugin interface, we need to pick the site that we want to install our Let's Encrypt SSL to. Go ahead and click on the blue button labeled "Install letsencrypt SSL Cert" in the top right of the screen:
...
You will be provided with a popup model that will contain a list of your sites that you have on your server, as well as your subdomains. For our testing purposes here, I'm just going to add a SSL to our viviotest.us domain:
...
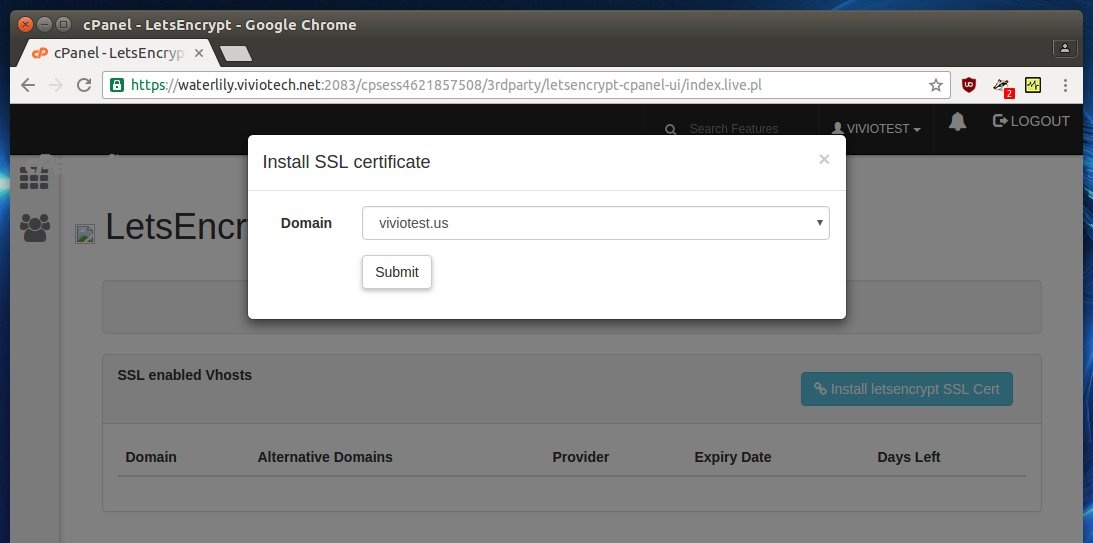
Once you've picked your domain, click the "Submit" button. The "processing" can take a minute, but give it a moment, and you'll have your SSL in no time.

Step 4: Test your new SSL
Now that your SSL has been installed, let's test it! Go to https://yourdomain.tld, and see if your new ssl shows up. In our case, we're using viviotest.us, so lets see if we can hit the "https://" version of that domain and see if it works:

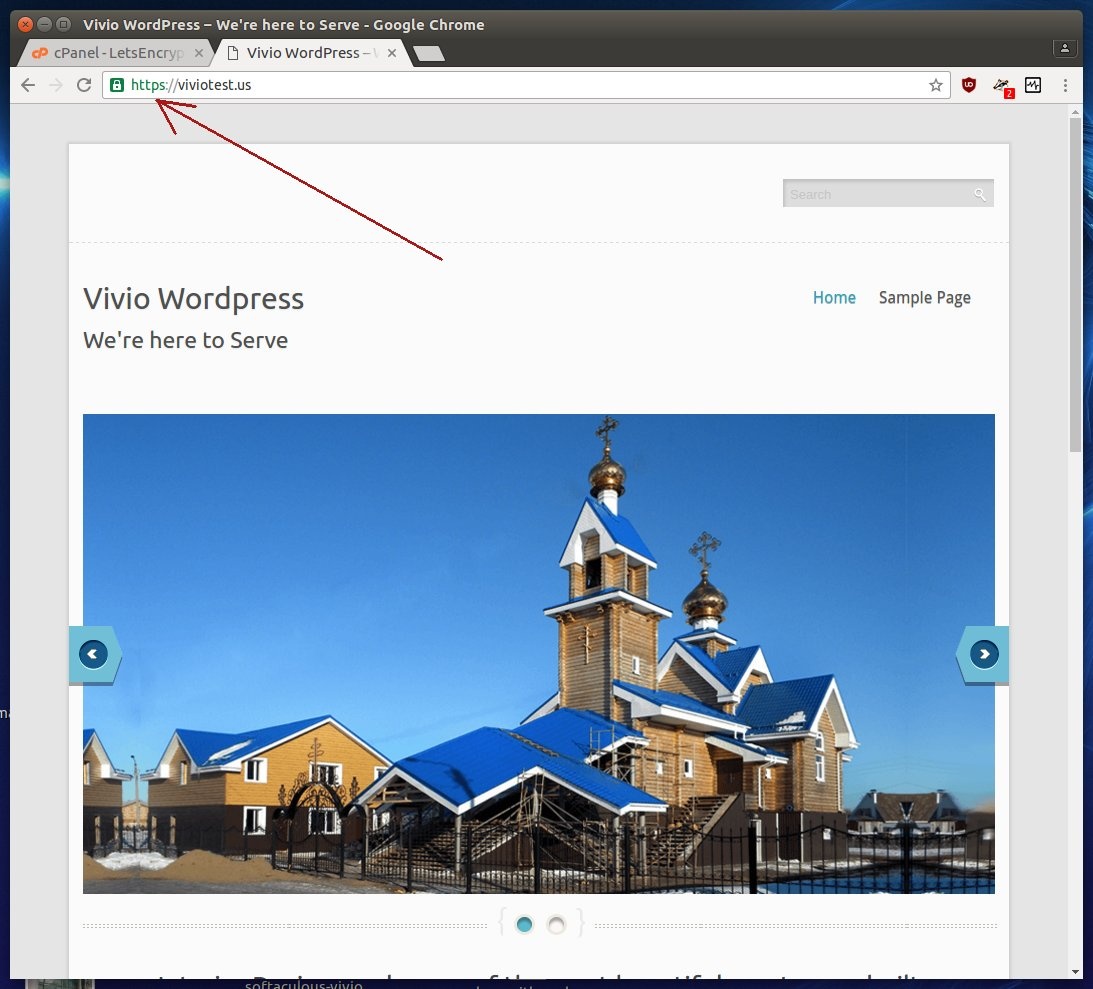
WooHoo! Our Wordpress Test site is now protected with a free SSL from Let's Encrypt, a service provided by the Linux Foundation.
...