...
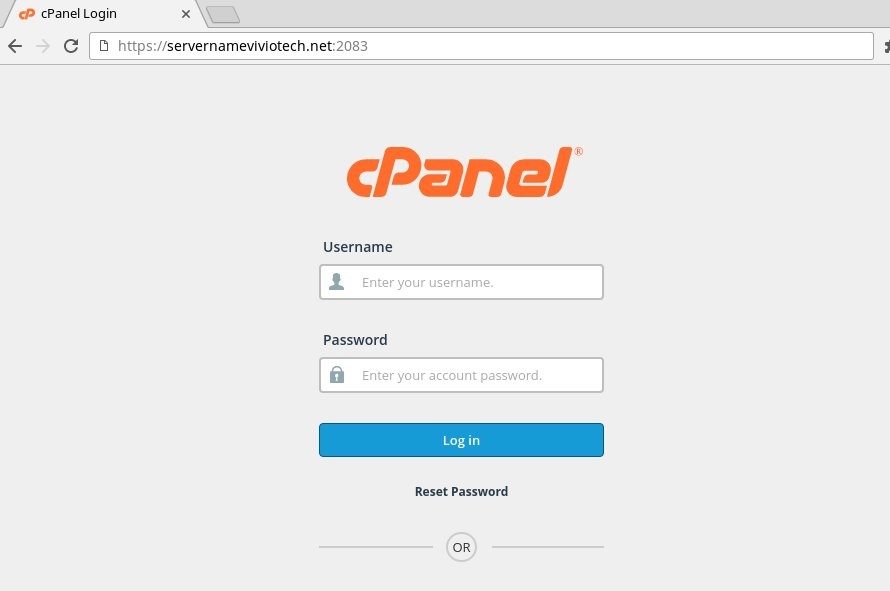
First you'll need to login to your cPanel account here at Vivio. Simply navigate to https://servername.viviotech.net:2083 (where 'servername' is the name of your server mentioned in your Welcome Letter).

Step 2: Access the CloudFlare cPanel Plugin
Once logged in, you can find the Cpanel Cloudflare plugin either under the 'Software' heading, or you can search in the Search box at the top of your home page, like so:


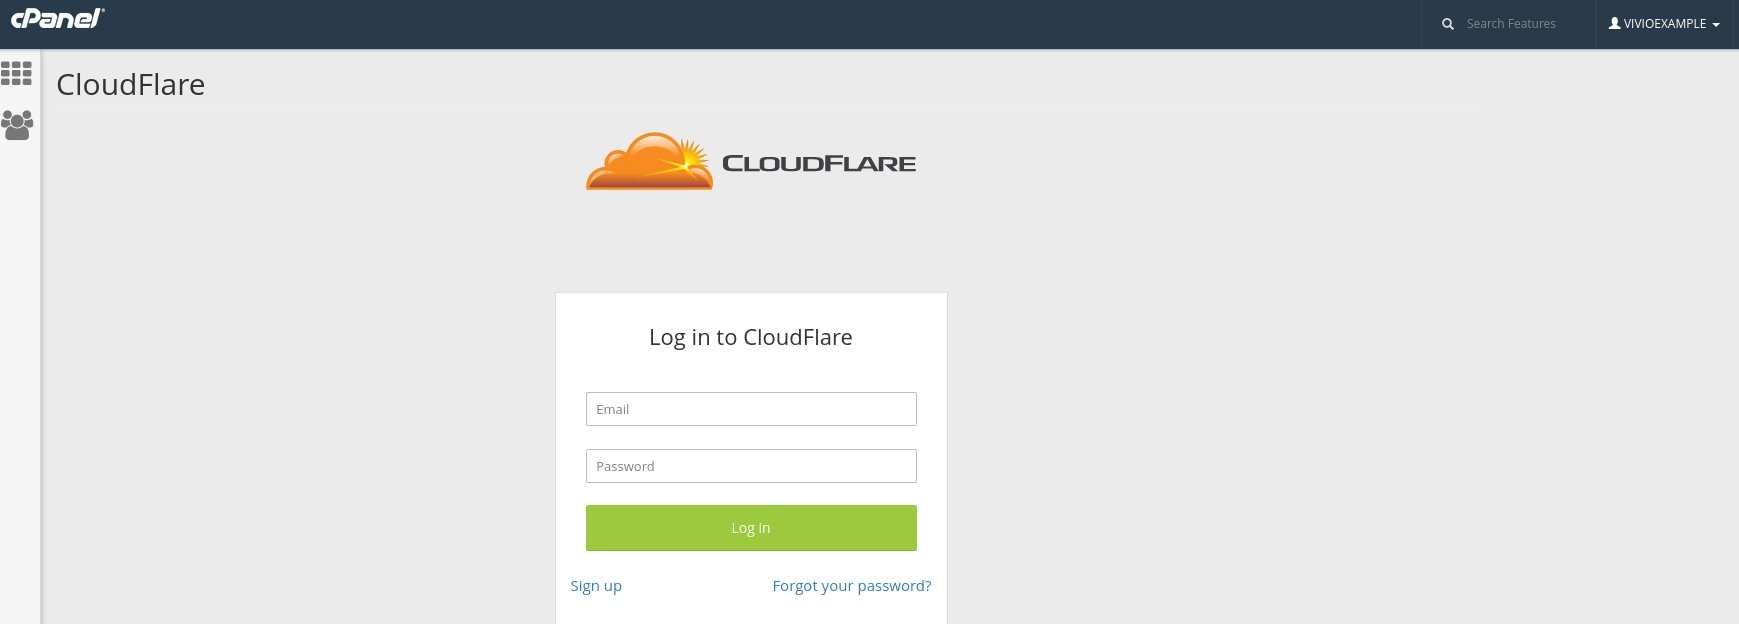
Step 3: Create your CloudFlare Account
Clicking the cPanel CloudFlare plugin will prompt you for your CloudFlare login. You'll need to create an Cloudflare account (or login if you already have one):

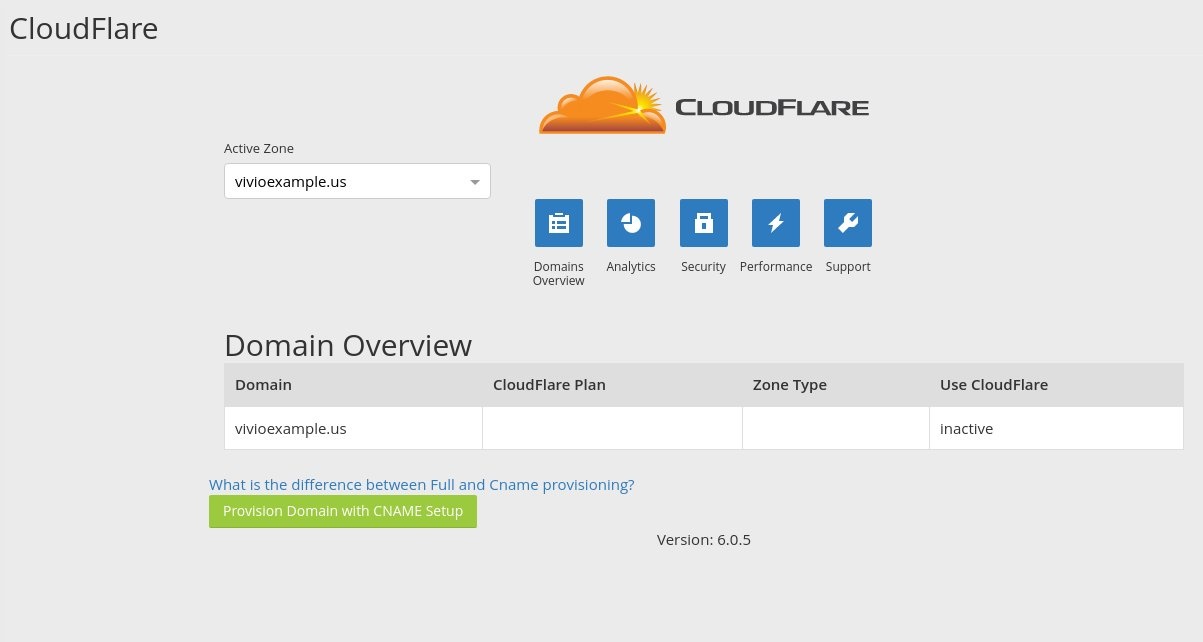
Step 4: Enable CloudFlare for Your Domain
Once logged in, find the domain you want to enable CloudFlare on in your "Active Zone" drop-down. Once there, click on the 'Provision Domain with CNAME Setup' button:

Once here, select the subdomains you want to use with Cloudflare. By default the main domain and the 'www.' subdomain will be selected. These are probably all most domains need, but if you need more go ahead and select them here.
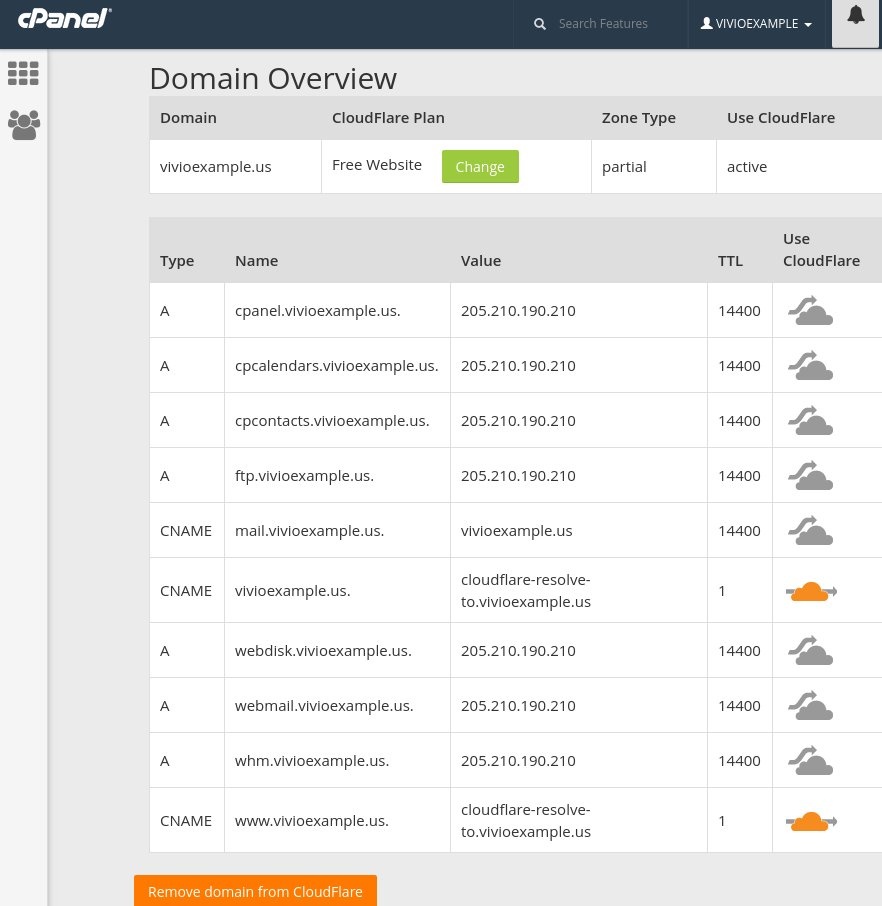

After this, you're all set! Your site is now protected by Cloudflare and distributed over the global CloudFlare CDN.
...
If you want blisteringly fast performance, you can enable Railgun support by hitting the 'Performance' link at the top of your CloudFlare main screen. Scroll down until you see the 'Railgun' switch and toggle the switch to the 'On' position.
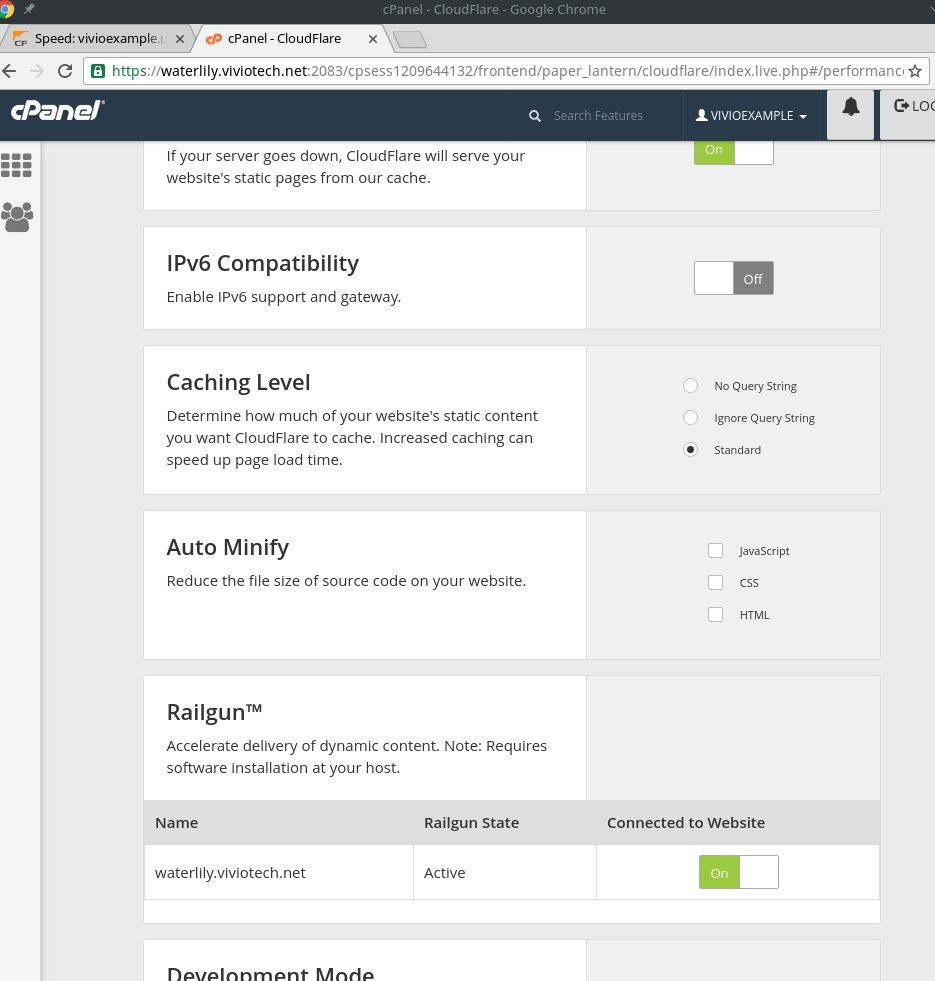

That's all there is to it! You're now configured to not only use the CloudFlare Global CDN, but you're now ready to rock with powerful Railgun support.
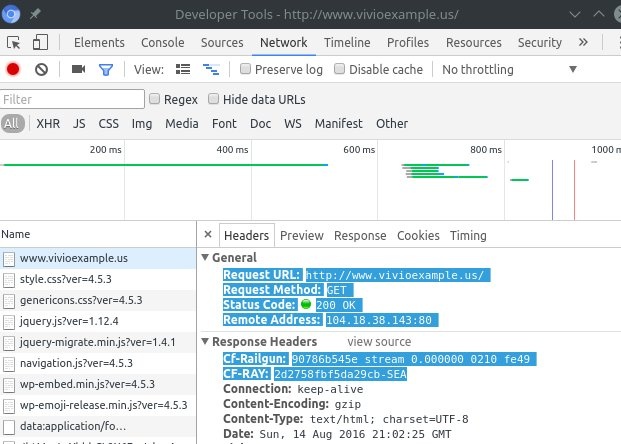
You can confirm your site is using Railgun by using the built-in 'Developer Tools' for Google Chrome. Simply browse to your site using the Google Chrome web browser, then hit the 'F12' key to bring up the Developer tools. Hit the 'Network' tab at the top, then refresh your browser. If you see 'Cf-Railgun' in your response headers, like in the screen shot below, then you're all set!

If you have any questions, please feel free to reach out to our Support staff via email, phone, or web chat.
Related articles
| Content by Label | ||||||||||||||||||
|---|---|---|---|---|---|---|---|---|---|---|---|---|---|---|---|---|---|---|
|
...