...
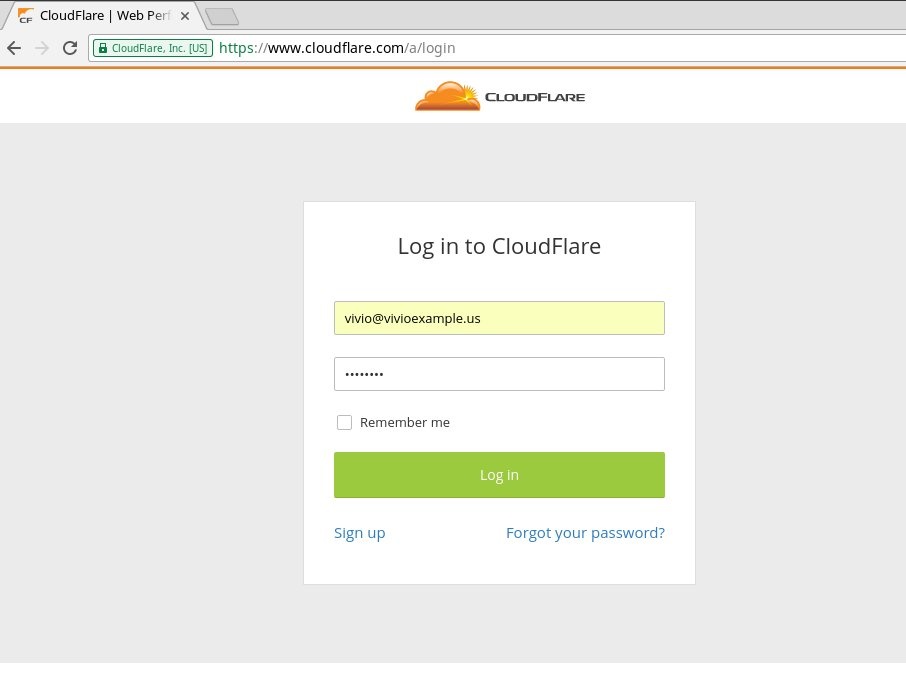
https://www.cloudflare.com/a/login

Step 2: Access the SSL Configuration Screen
Next you'll need to click the 'Flexible' text link next to 'SSL':

Select Full (Strict) from the drop down
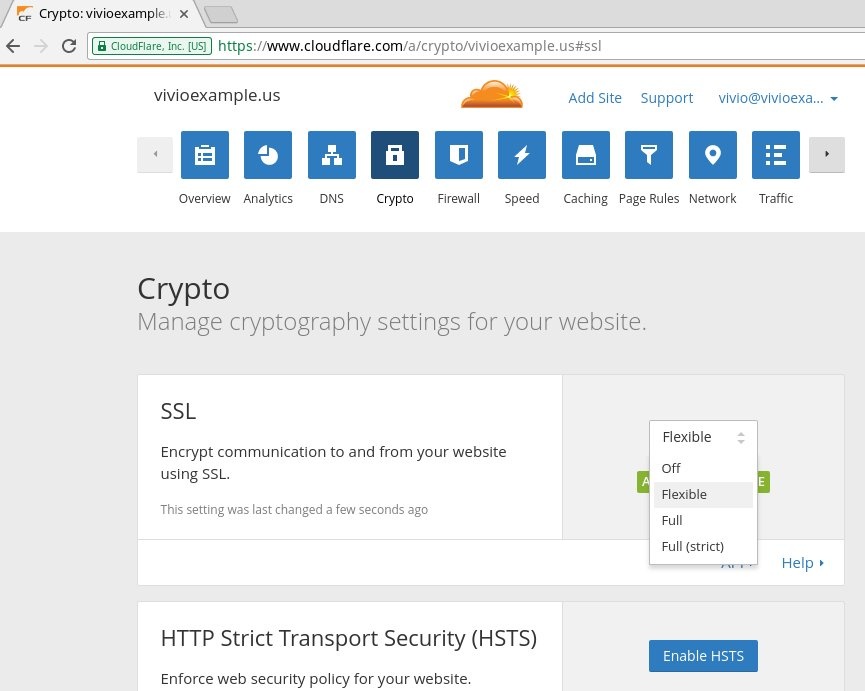

On the same page, scroll down until you see 'Create Certificate'
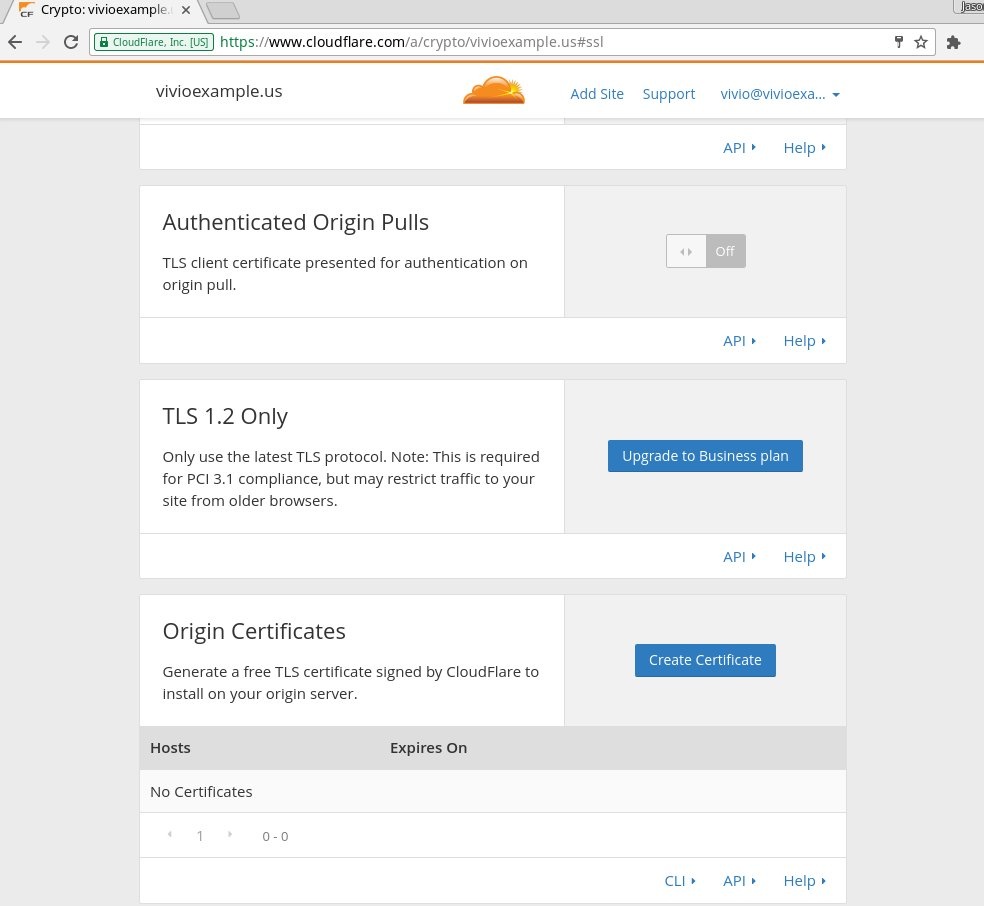

Step 3: Generate Your SSL Certificate
Here we generate the SSL. The defaults that CloudFlare gives you should be fine for most purposes.
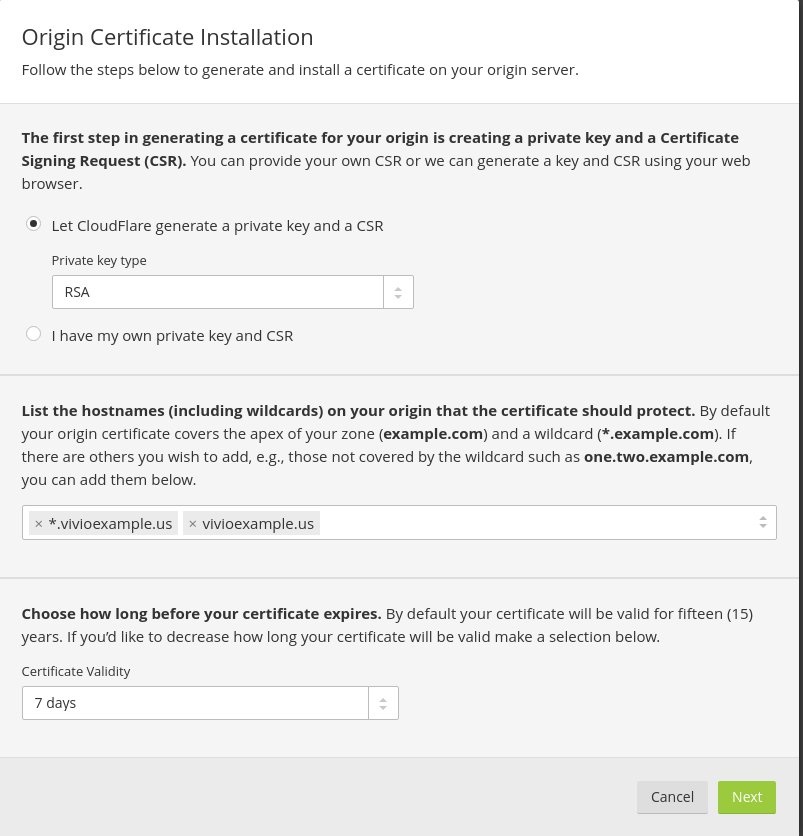

Hitting the 'Next' button here will generate your new SSL certificate.
...
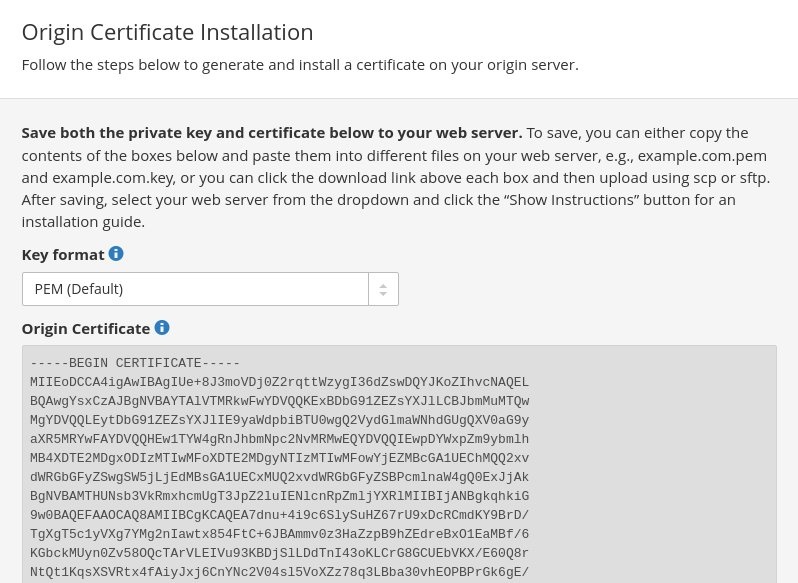
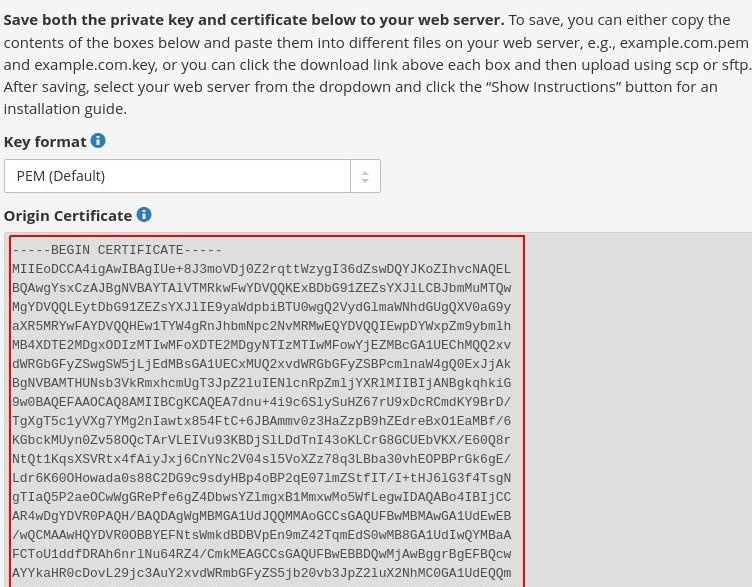
Next you'll want to copy both the 'Origin Certificate' and 'Private Key'.

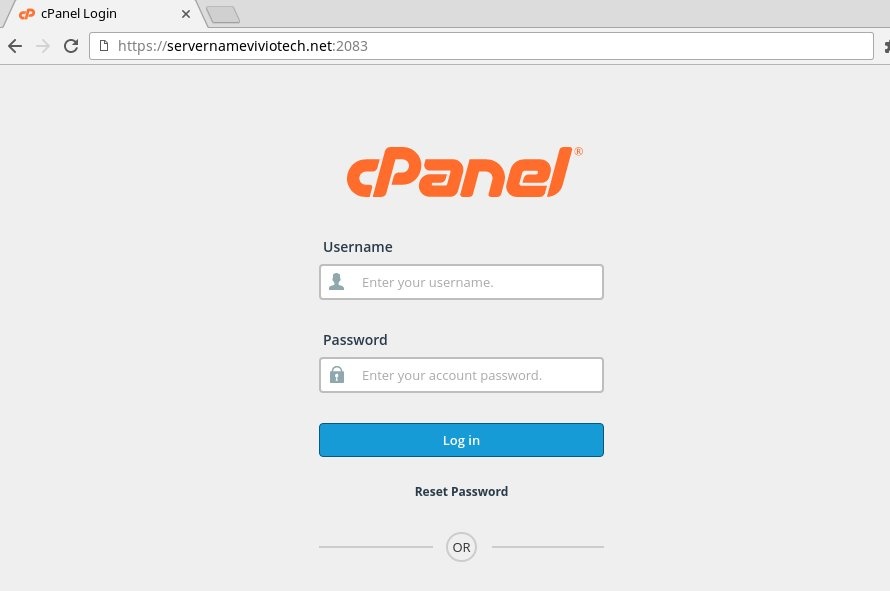
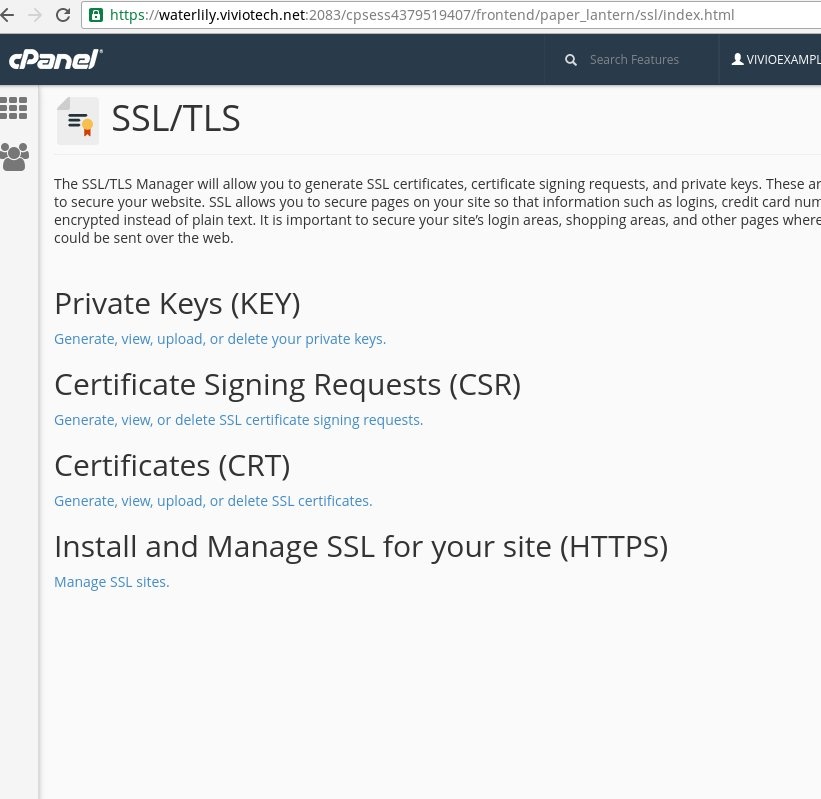
In order to copy and paste our keys, we'll login into our Cpanel account at:
https://servername.viviotech.net:2083 (where 'servername' is the name of our cPanel server)

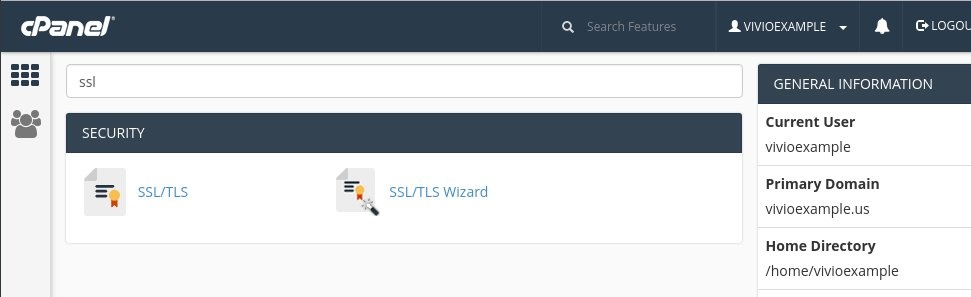
Click on SSL/TLS under 'Security'

Now we'll need to install a key, certificate and a CA. Click on Install and Manage SSL sites.

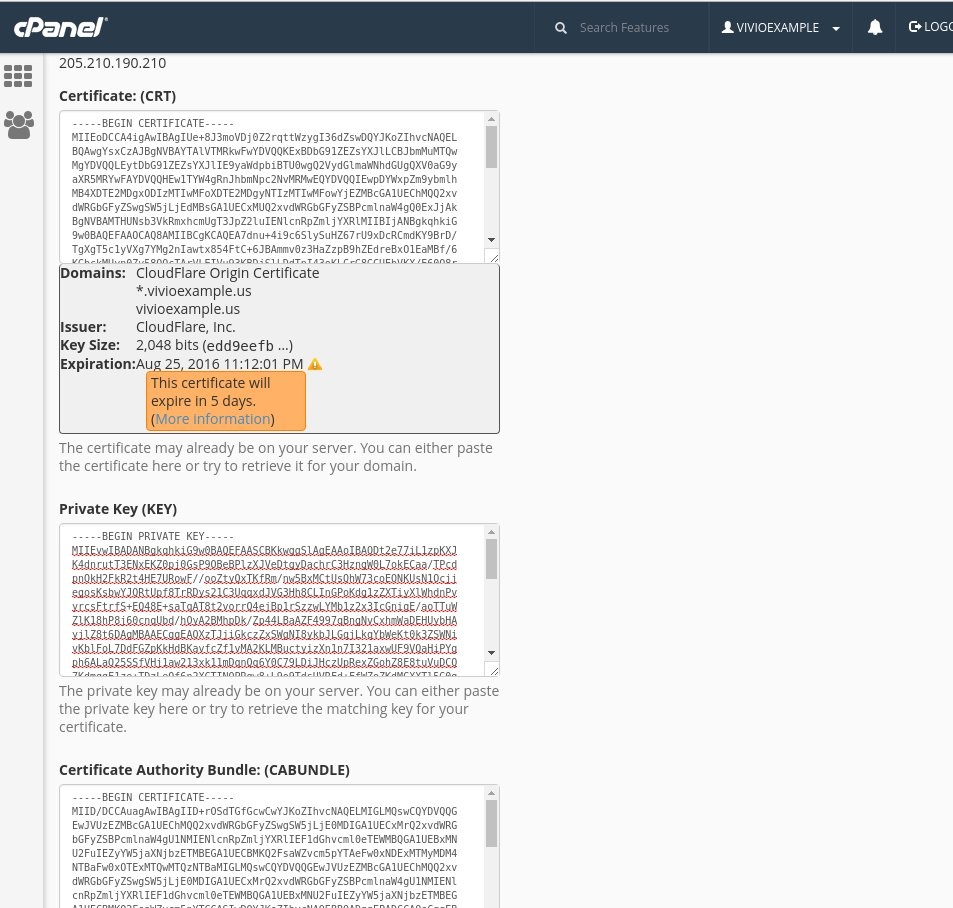
Paste the CRT in the CRT box from our Original Certificate install above. You'll want to ensure that you also include the '-----BEGIN CERTIFICATE-----' lines as well as '-----END CERTIFICATE-----' lines.

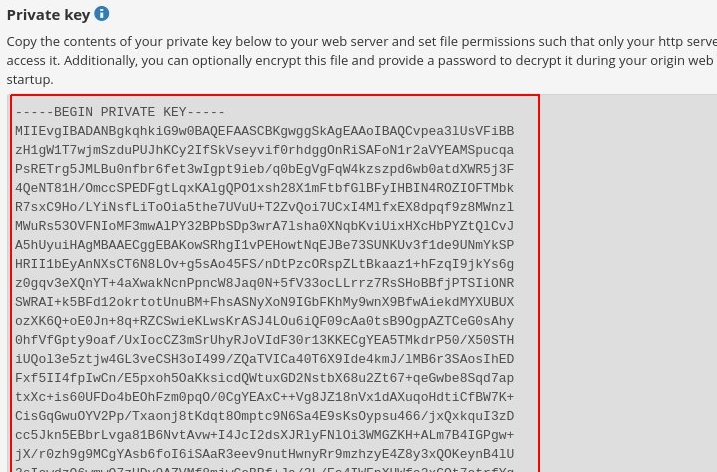
You'll want to do the same for the Private key. Remembering again to include the '-----BEGIN PRIVATE KEY-----' and '-----END PRIVATE KEY-----'

Your domain should auto fill in when you paste the certificate.
...
You'll want the CloudFlare Origin CA — RSA Root.
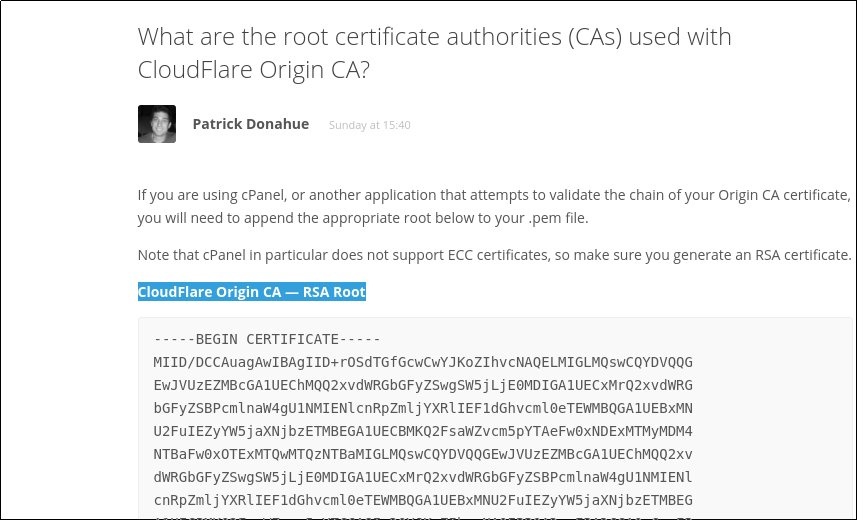

Ensure that the '-----BEGIN CERTIFICATE-----' and '-----END CERTIFICATE-----' are also copied for the Certificate Authority bundle or CA. Pasting in all 3 certificates should look something like this

Finally, click on 'Install Certificate' at the bottom of the page. You can now browse to your domain to confirm that SSL is working.


If you have any questions, please feel free to reach out to our Support staff via email, phone, or web chat.
Related articles
| Content by Label | ||||||||||||||||||
|---|---|---|---|---|---|---|---|---|---|---|---|---|---|---|---|---|---|---|
|
...